To create an export file perform the following steps:
1)
Go to Site Administration Menu.
2)
Click on the Utilities Go To icon located in the Site
Management section.
3)
Click on the Product Export option.
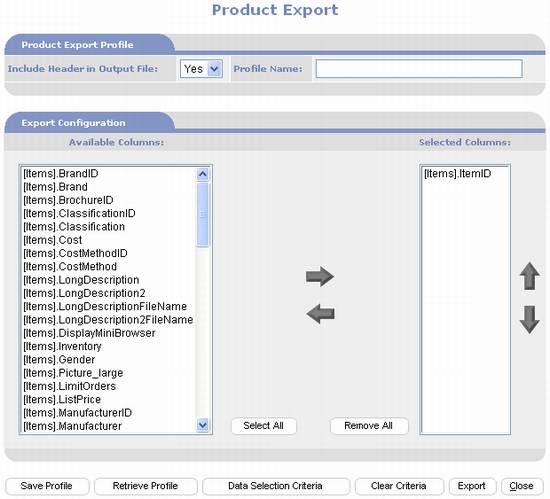
4) Select
Yes from the “Include in Header in
Output File” list box to include field names (column headings) as the first row
of the export CSV file. Set to No to exclude fields names from the
first row.
5) Select
the fields you want to export from the Available Columns by highlighting a
field and clicking the right arrow button . This places the field in the Selected
Columns.
. This places the field in the Selected
Columns.
6) To
remove a field from Selected Columns highlight the field and click the left
arrow button  .
.
7) To
change the order of the columns, highlight a field in the Selected Columns and
click the up arrow button  to move the
field up or click the down arrow button
to move the
field up or click the down arrow button  to move the field down.
8) To
specify data selection criteria click on the Data Selection Criteria button  .
.
9) Use
the Search for Product Items page to enter Search Criteria.
10) Click
Search button.
11) Check each
item to be included. You may use Select
All button  to automatically
check all items.
to automatically
check all items.
12) When
finished with selection criteria, click Save button  to save all selections and return to the
Product Export page.
to save all selections and return to the
Product Export page.
13) Click the
Export button  .
.
14) A Product
Export confirmation will be displayed as follows:
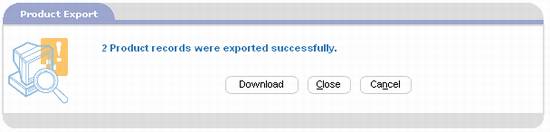
15) Click the
Download button to  to download the export CSV file to you computer. A dialog box similar to the following will be
displayed.
to download the export CSV file to you computer. A dialog box similar to the following will be
displayed.
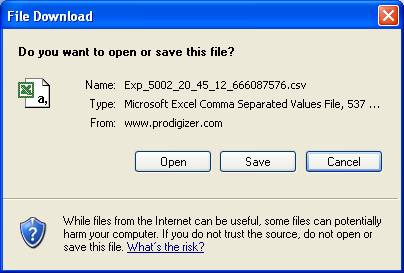
16) Click the
Save button  . A
Save As dialog box similar to the following will be displayed.
. A
Save As dialog box similar to the following will be displayed.
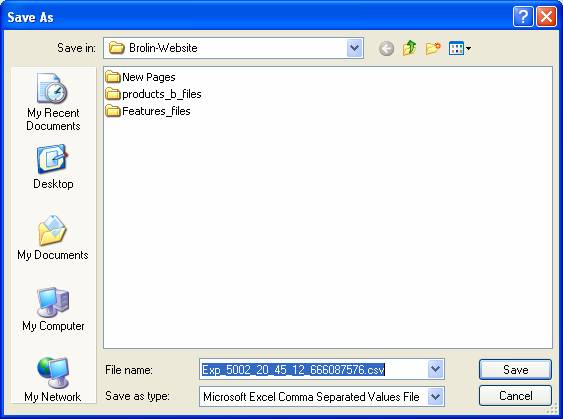
17) Using the
Save As dialog box, select a folder on your computer to save the export CSV
file to. You may also change the File
Name. Do not change the Save as type.
18) When the
download is finished a dialog box similar to the following will be displayed.
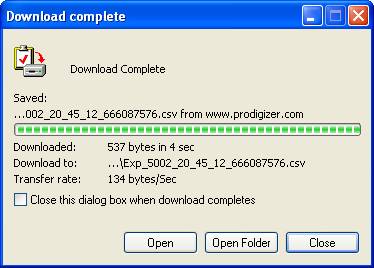
19) Click the
Close button  in the Download Complete dialog box.
20) Click the
Close button  in the Product Export confirmation page. Click the Close button in the Product Export page to complete the
product export process.
in the Product Export confirmation page. Click the Close button in the Product Export page to complete the
product export process.
Product Export also allows you save your settings as a
profile. See Advanced Import section of
this chapter for a description of this option.


