To access this feature, you must be logged in and belong to
a Security Group that has Edit rights assigned to the ResourceDocLibrary-Add&Update
(Public) security feature component.
- Select a
Category: From Browse Resource Topics Categories page select the
Category you want to add the document to by clicking on the Category name.
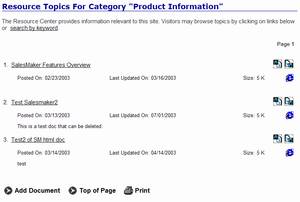
- Add Document: Located at the bottom of the
page is the
 option.
Click on this to display the New Resource page.
option.
Click on this to display the New Resource page.
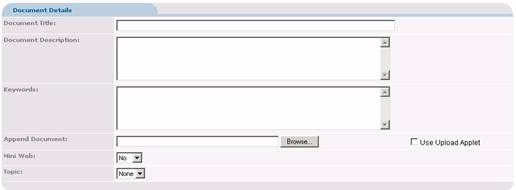
- Browse: Click on the
 button to locate and select the
appropriate document (file) that is stored on your system.
button to locate and select the
appropriate document (file) that is stored on your system.
 The first time you upload
a document from a computer using PORTALPRODIGY, you may be prompted to install
an Active-X component from Software Artisan’s.
PORTALPRODIGY uses this component to efficiently and reliably load
documents via the HTML protocol. If this
sounds entirely too technical, just answer Yes and leave it at that. You will not prompted to do this again,
unless you change your computer configuration.
The first time you upload
a document from a computer using PORTALPRODIGY, you may be prompted to install
an Active-X component from Software Artisan’s.
PORTALPRODIGY uses this component to efficiently and reliably load
documents via the HTML protocol. If this
sounds entirely too technical, just answer Yes and leave it at that. You will not prompted to do this again,
unless you change your computer configuration.
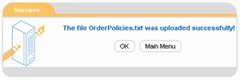
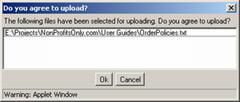
- Upload Prompt: Click Ok to confirm upload:
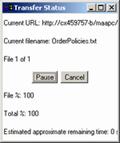
- Transfer
Status window - This window provides a status of the file
transfer. It will close
automatically when the transfer has been completed and the following
Success message will be displayed.
- Confirmation Message: at this point the
document has been successfully uploaded.
You may click Ok to return to the previous page or select any link
from the available menu options.